Video Tutorial:
Step 1. Go to your MagicINFO server.
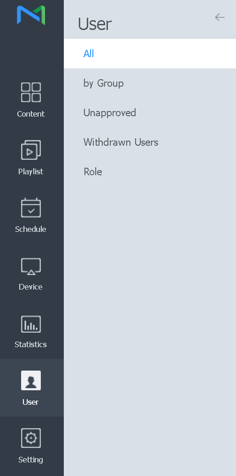
Step 2. Click on the User tab on the left side of your screen.
Step 3. In the middle of your screen, you can already see your users. Click on Add User to add a new user to your system.

Step 4. A new pop-up window will appear with all the credentials you can fill in.
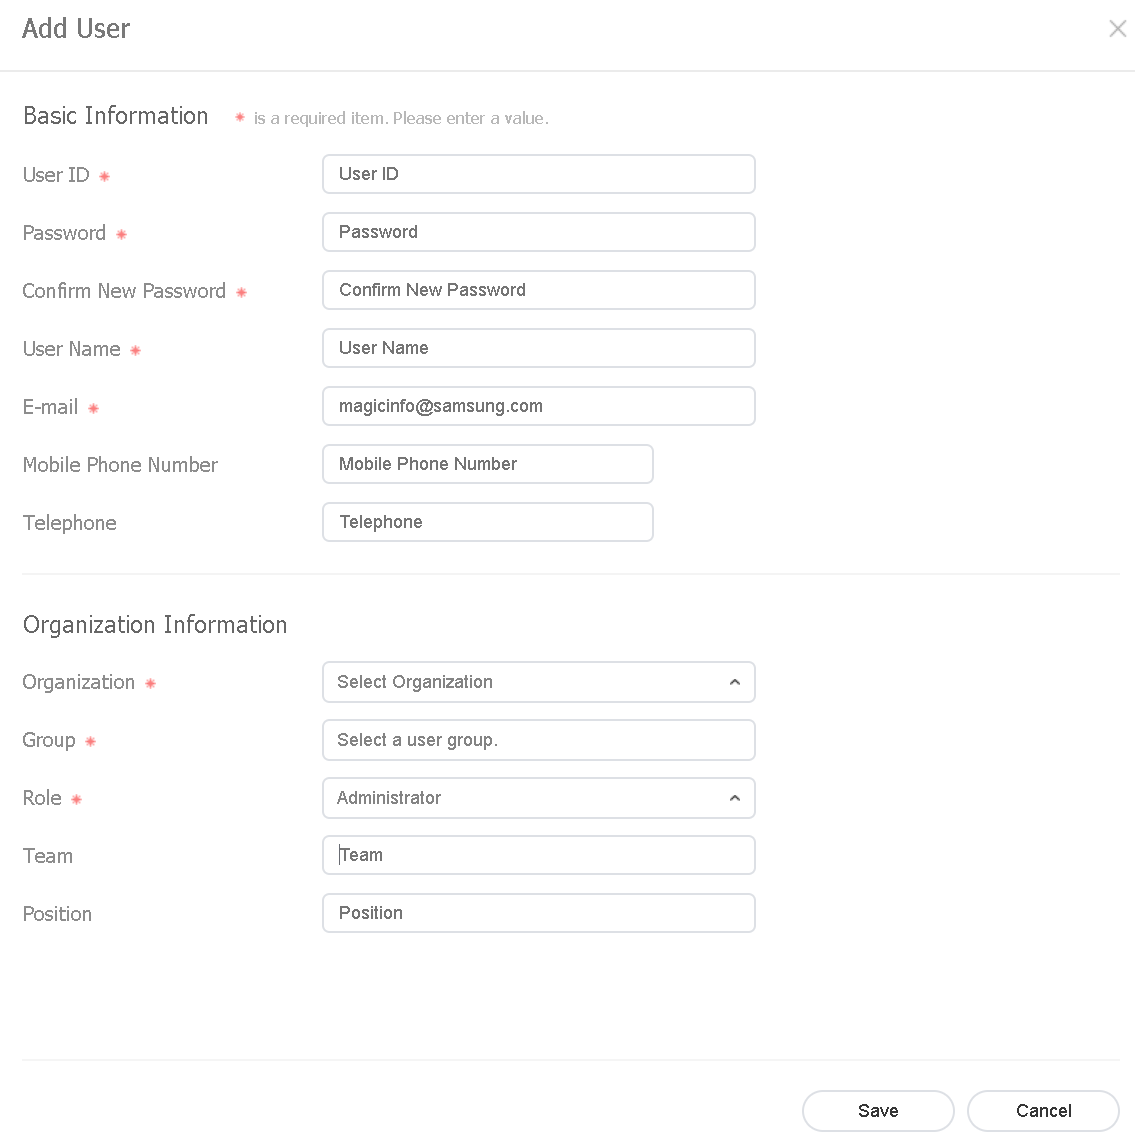
Step 5. Click Save and your user will be created.
Here you can find the different user rights:
- Administrator: Authorised to manage overall matters of their organization.
- Content Manager: Authorised to access and manage the content-related menu items.
- Content Schedule Manager: Authorised to retrieve and manage content and schedules.
- Content Uploader: Authorised to create content and playlists.
- Device Manager: Authorised to access and manage the device-related menu items.
- Schedule Editor: Authorised to create and edit content schedules and message schedules.
- Schedule Manager: Authorised to access and manage the schedule-related menu items.
- User Manager: Authorised to access and manage the user-related menu items.
