Step 1. Log in to your MagicINFO installation as a server administrator and go to Settings >> Server Settings >> Password Policies.
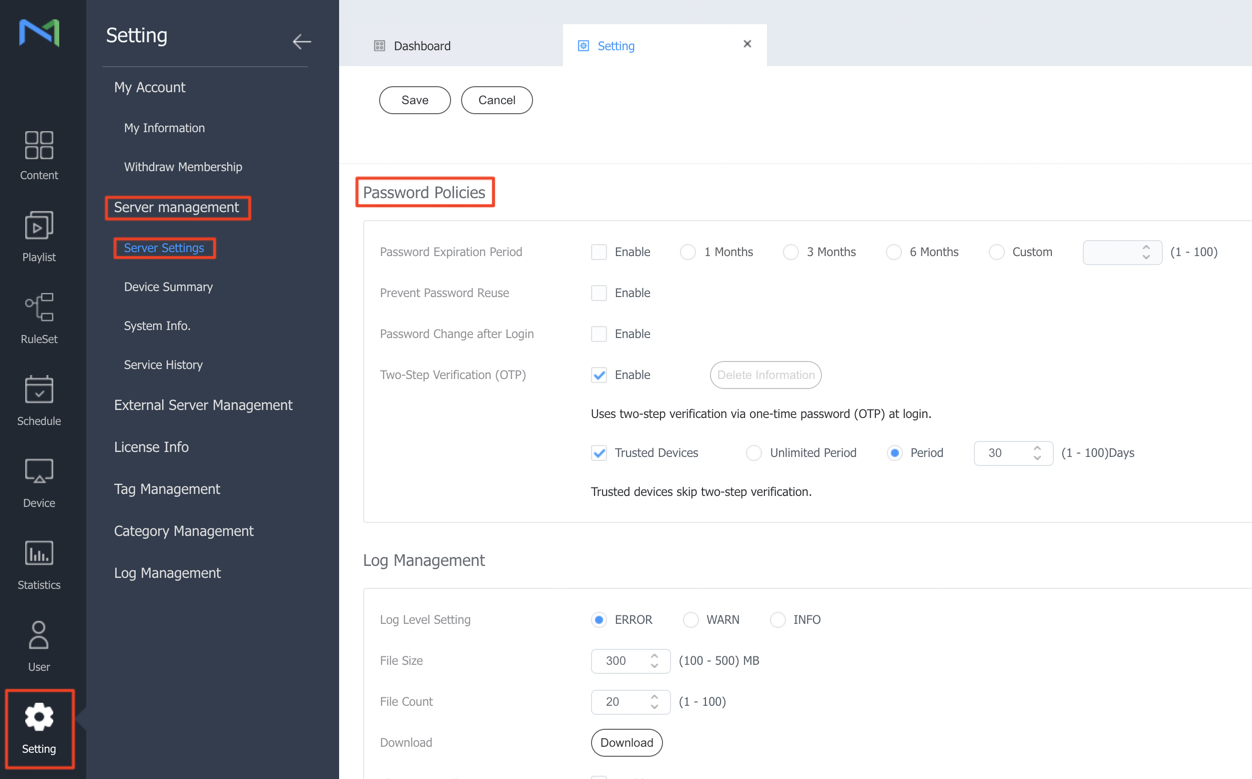
Step 2. Enable the functions you would like to use.
- Password Expiration Period: Specify the duration after which a password must be renewed automatically.
- Prevent Password Reuse: Specify whether a password cannot be used more than once for a user.
- Password Change after Login: When a user is assigned a new password by the Administrator, they receive a pop-up window prompting them to change their password.
- Two-Step Verification (OPT): Enable the 2FA function for each user on the installation
Now, when a user attempts to log in, they must set up their method for 2FA.
There are various authenticator applications available. In this example, we will demonstrate how Google Authenticator can be used for 2FA.
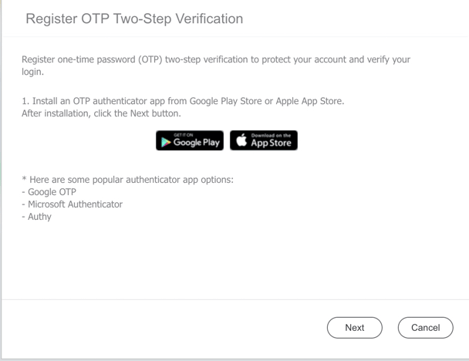
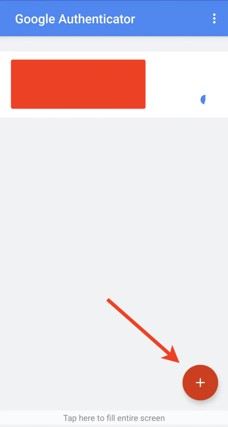
Step 3. Install and open the Google Authenticator app on your device. Then, add the service by clicking the plus icon.
Step 4. Click "Next" in MagicINFO, then scan the QR code from MagicINFO using the Google Authenticator app. Once scanned, you will receive a 6-digit code in the Google Authenticator app. Enter this code into the highlighted field in MagicINFO to proceed.
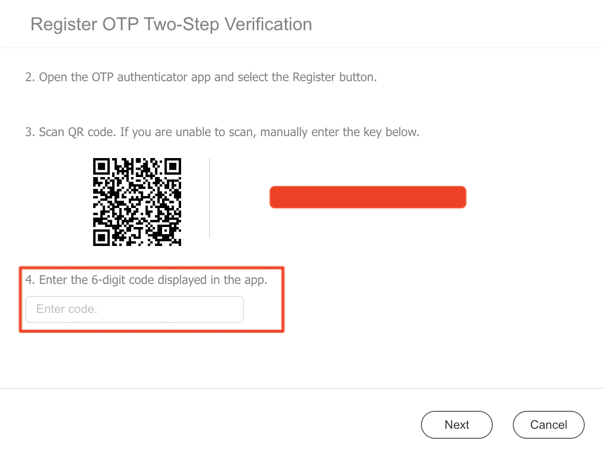
Now, when the user logs out and logs back in, they can use Google Authenticator to generate a new 6-digit code.